- WhatsApp:+86-19892834301
- Email: automantool@hotmail.com
- Skype:autoobdtop
VDIAGTOOL VC300 Precise Coating Thickness Tester Rotated Screen USB Rechargeable Car Paint Gauge Self Calibration Coating Meter
0 out of 50 global ratings
- 5 stars:0%
- 4 stars:0%
- 3 stars:0%
- 2 stars:0%
- 1 stars:0%
ratings| answered questions
0 global ratings
- 5 stars:0%
- 4 stars:0%
- 3 stars:0%
- 2 stars:0%
- 1 stars:0%
Fast Shipping & No Tax
US Check: Ship from US
UK Check: Ship from UK
EU Check: Ship from Czech
Looking for help? Please contact Whatsapp: +86-19892834301
- Shipping:
-
Free Shipping
Express Shipping ServiceEstimated delivery time: 3-5 Working Days
- Quantity:
- Stock:32
- Weight:
- 0.2 KG
- Package:
Related Download Files
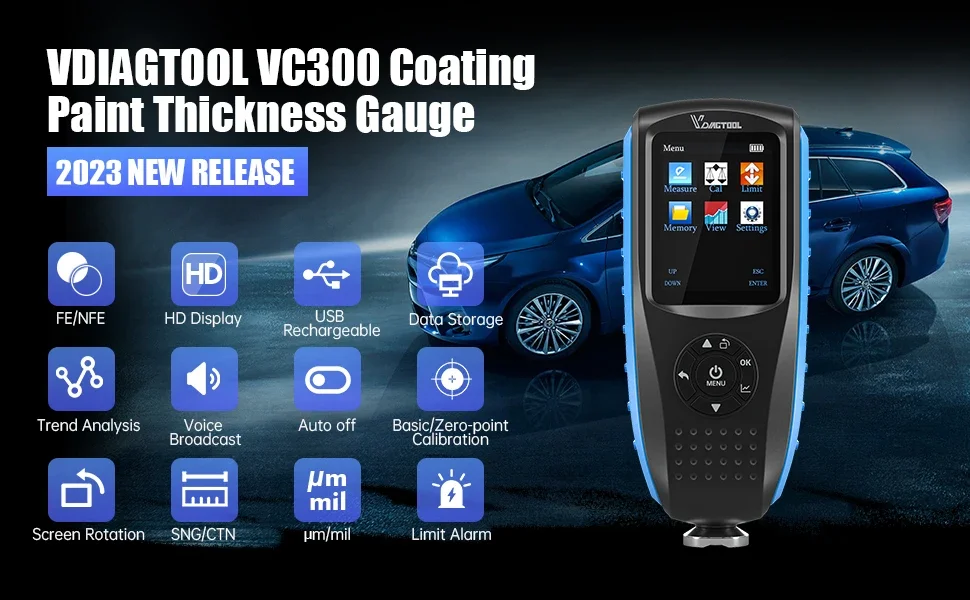
👍 Voice broadcast function.
👍 Single and continuous measurement methods.
👍 The thickness measurement of the non-magnetic coating on the surface of the magnetic metal substrate and the thickness measurement of the non-metal coating on the non-magnetic metal substrate.
👍 It has two calibration functions: basic and zero point.
👍 Metric and English unit selection and storage function.
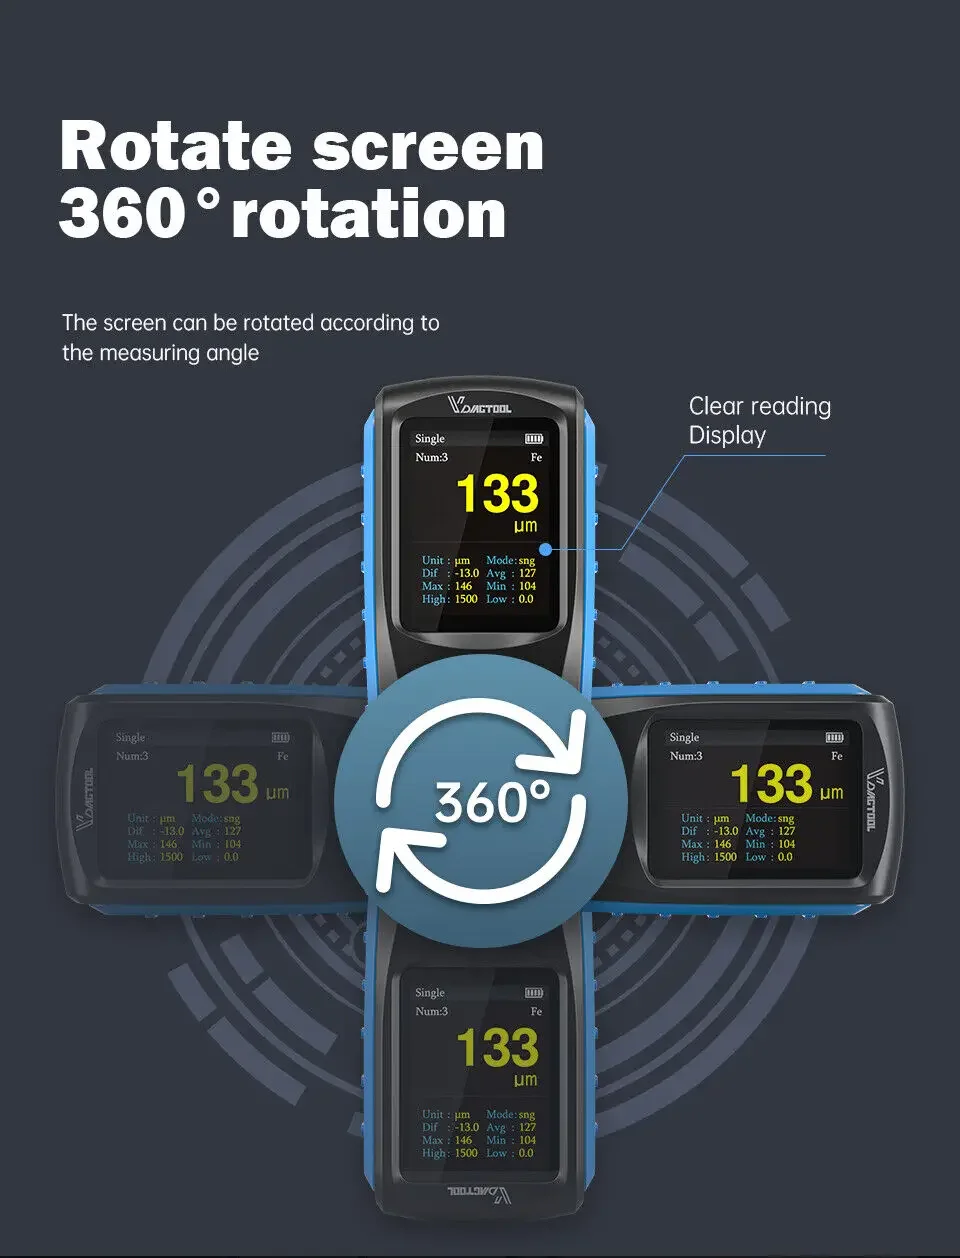
👍 360° Screen rotation, USB chargeable, multiple interface display, screen brightness selection.
👍 Automatic shutdown selection function.
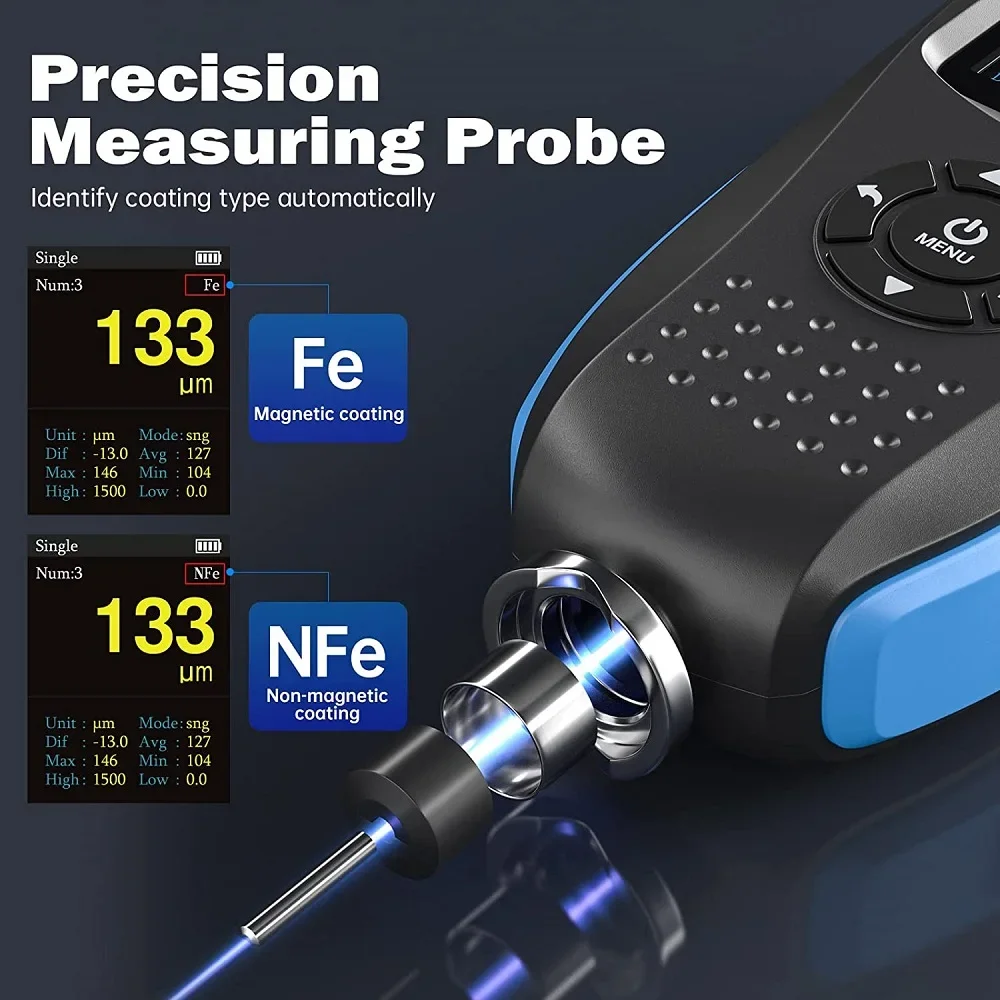
Automatic Substrate Recognition and High Accuracy
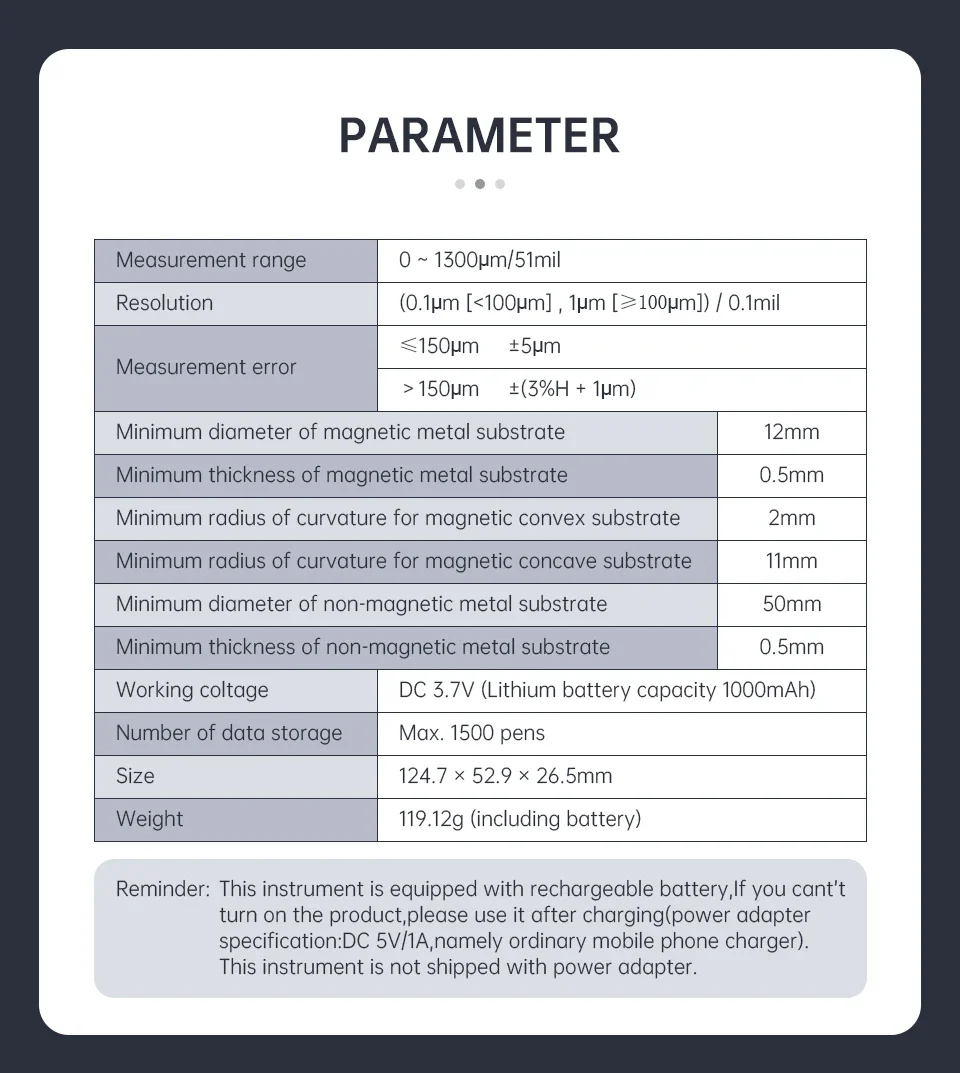
Measurement range: 1500μm/59mil. Resolution: 0.1μm/0.01mil when it is within 100μm; 1μm/0.1mil when it is above 100μm. Accuracy: ±3%.
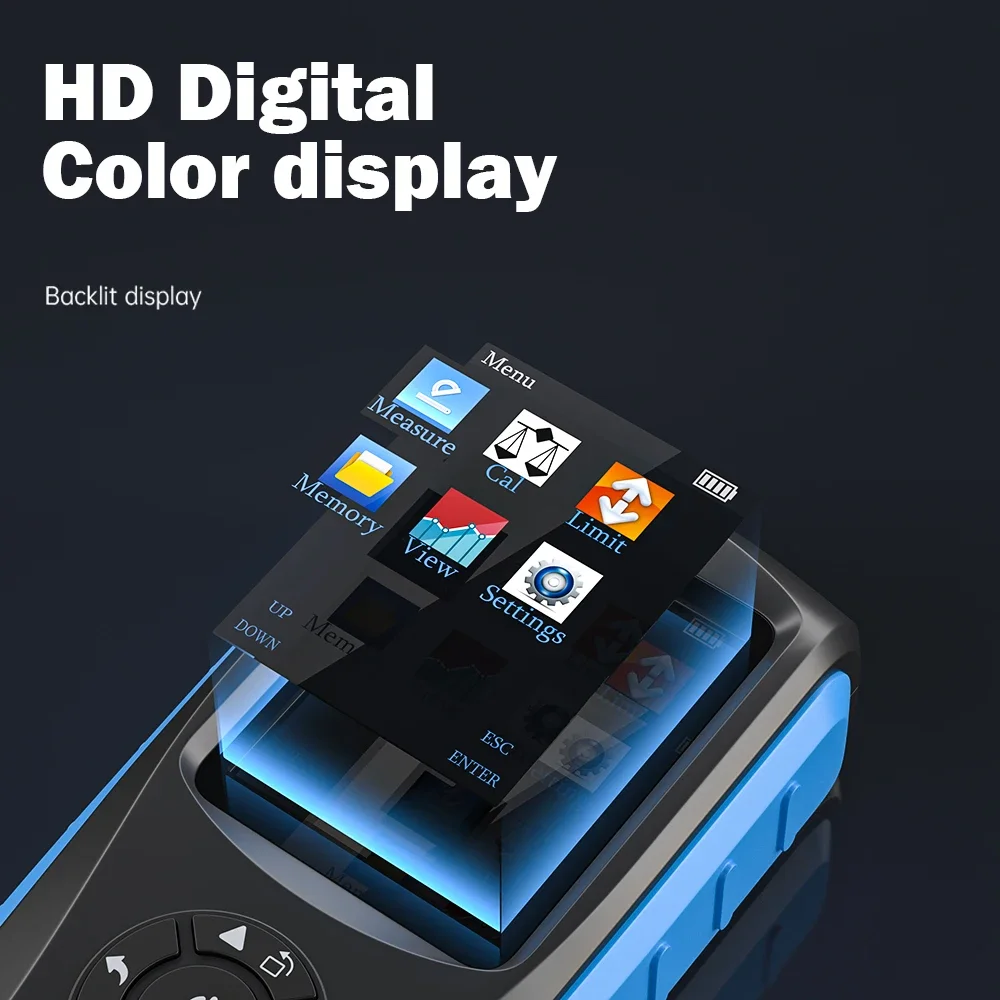
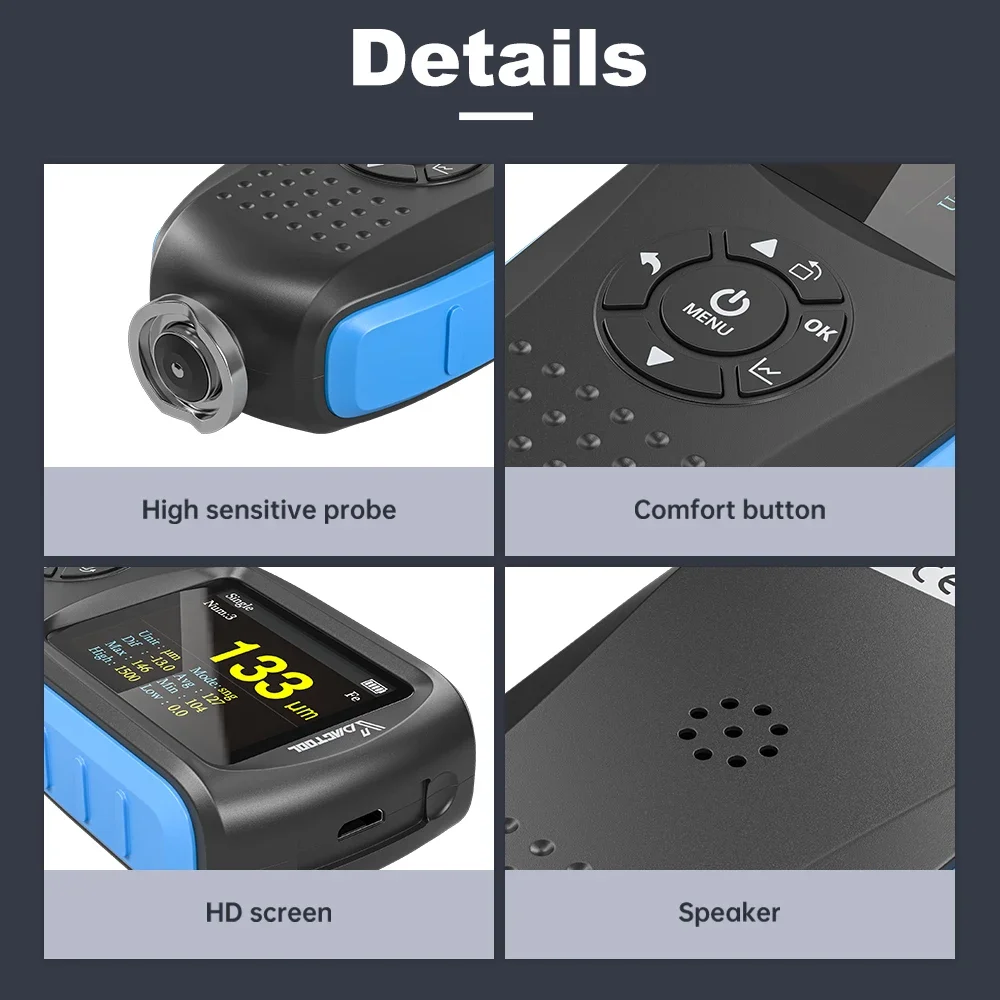
This product not only has simple button functions, but also has its own software functions and English operation interface. It makes everything clear and simple. Many products do not have this feature .And it has 2” color-screen HD display, the high contrast backlight can show the measurement data clearly even when you are in dark or in bright light outdoors. You can set the background color (Black, Blue, Orange) and brightness to get more comfortable readings.
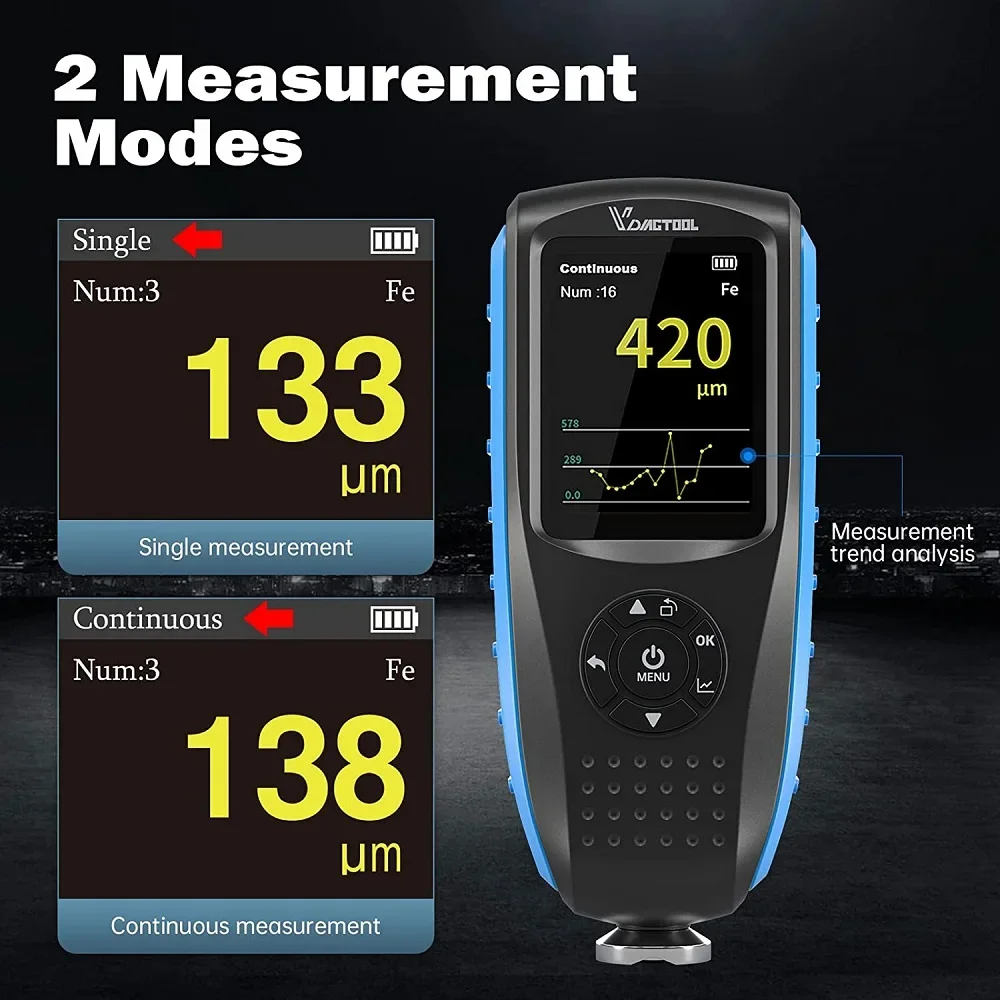
Two Measurement Modes
Vdiagtool VC300 has a powerful continuous measurement mode and single measurement mode, and can be switched as needed. The continuous measurement mode allows the probe to move on the surface of the object, and the screen measurement value will change continuously. This feature is very good at detecting changes in the surface of the same object.
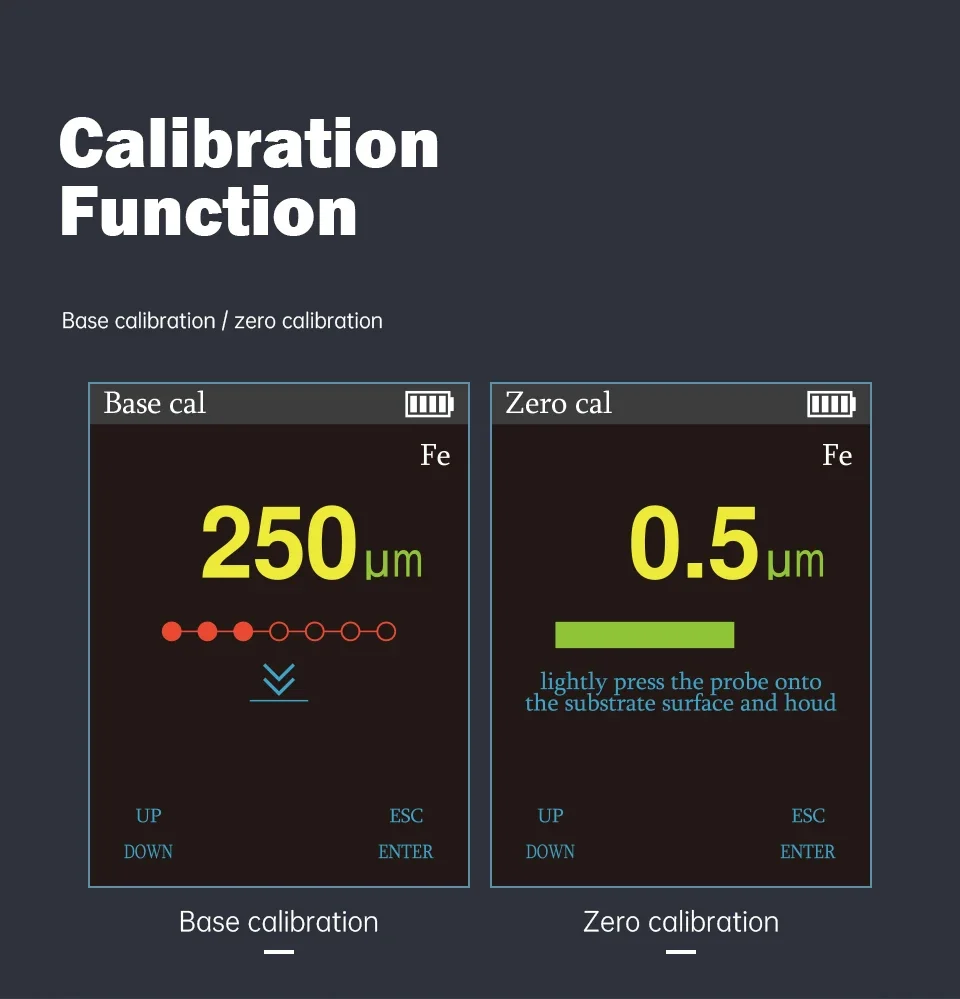
Calibration Operation
a.Prepare the calibration plate and calibration base,enter calibration menu and select basic calibration.
b.According to the instrument instruction,place the corresponding calibration plate for calibration.
c.After calibration is completed,"calibration complete"will show up at the bottom of the screen and the instrument will return to the previous interface.
d.After the calibration is complete,you can go back to measurement interface and perform measurement.
e.Magnetic and non-magnetic metal base calibration do not affect each other.
a.Enter calibration menu and select zero calibration.
b.Lightly press the instrument onto substrate.
c.The instrument will automatically calibrate to zero point.
d.The instrument displays the previous interface after calibration is done.
e.After calibration is complete,you can go back to meansurement interface and perform measurements.
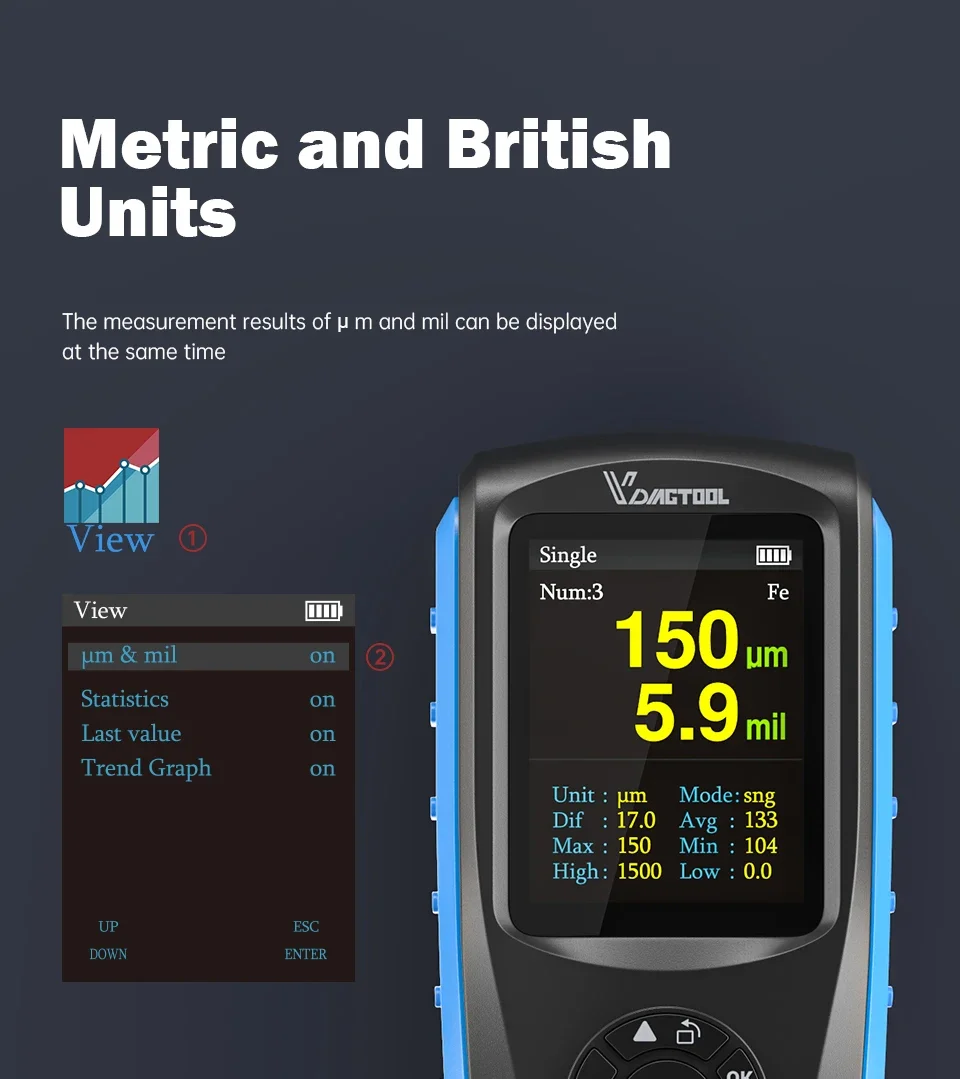
Metric and English Unit
You can switch between different unit systems, mil and um systems, to meet your needs for different precisions.
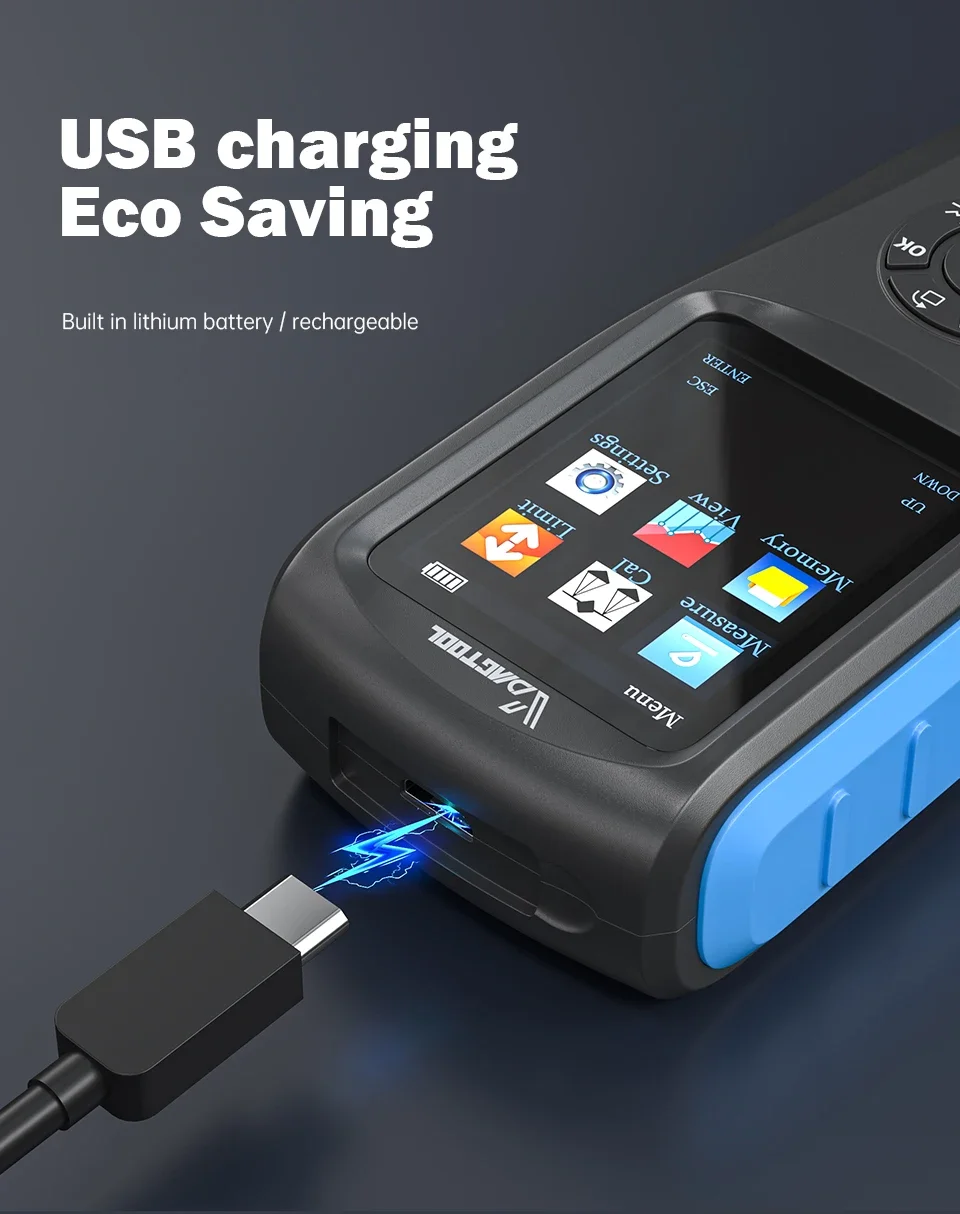
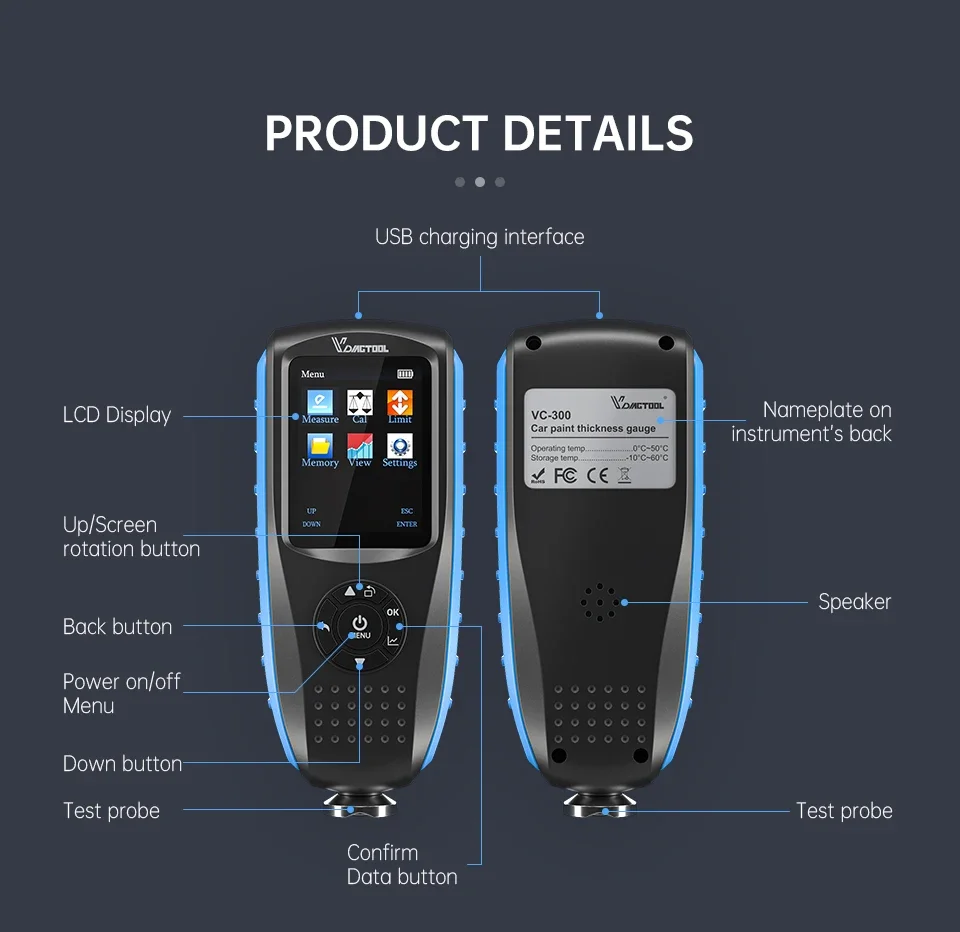
USB Rechargeable
360° Rotation Screen
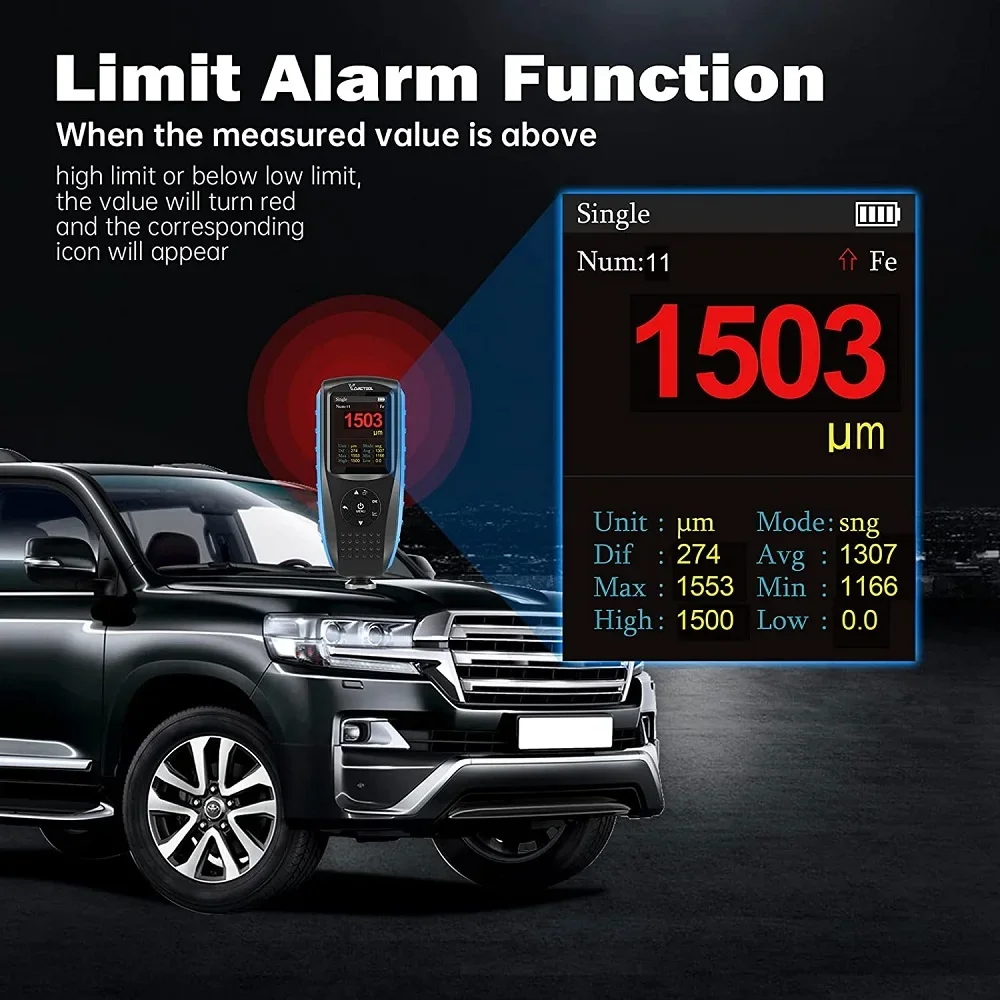
Limit Alarm Function
When the measured value is above high limit or below low limit, the value will turn red and the corresponding icon will appear.
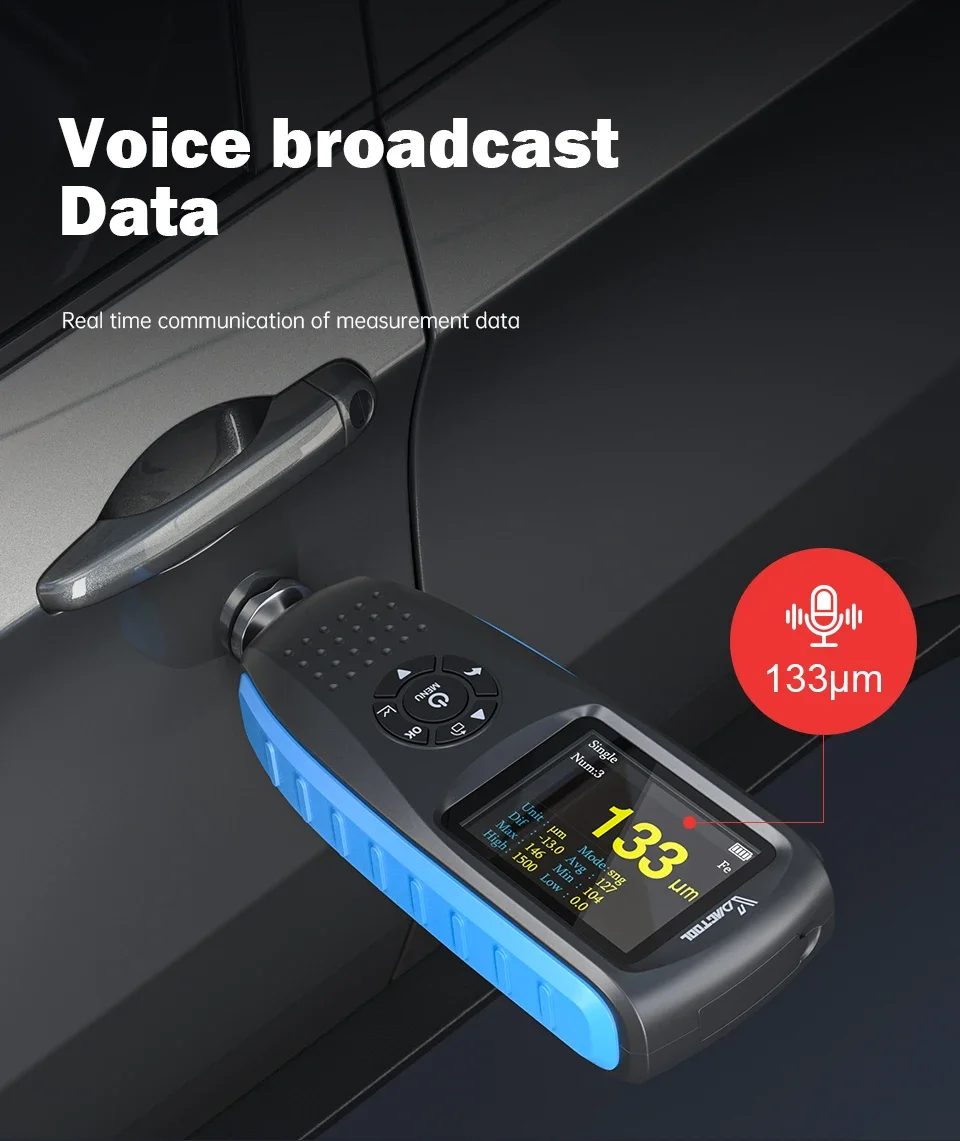
Voice Broadcast Data
Paint thickness result could be got without lookning at the sceen. Have a real time communication with the measurement data. You can turn it off when you don't need
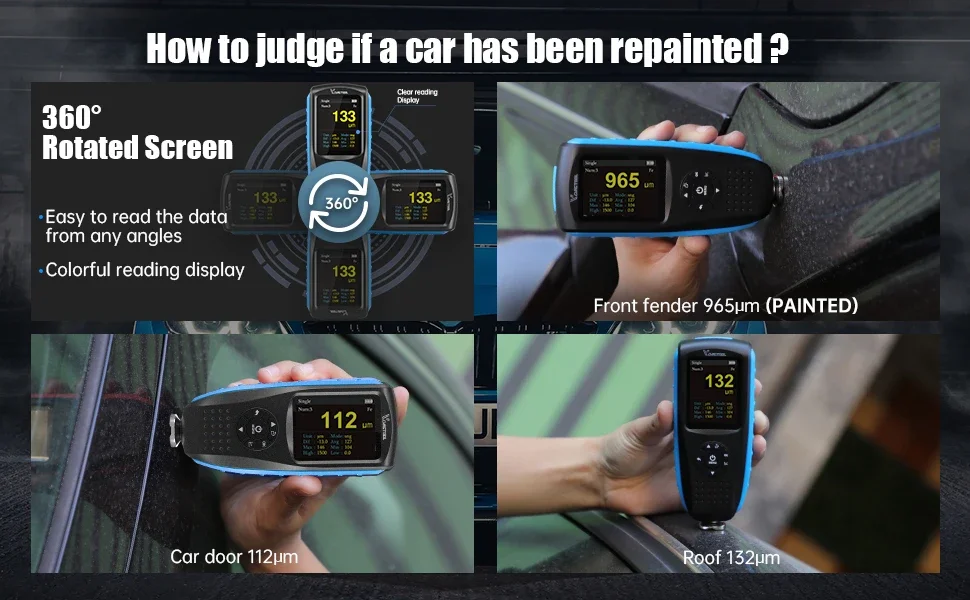
How to Judge if a car has been repainted?
The thickness of the original car paint is between 100-200um (4-7 mils).
If you have some paint that you are measuring and it goes from really low to really high in the same area you know there has been damage.
Or if you go from panel to panel and you will see a big difference in the number that you are measuring then you know that panel has been most likely painted.
Product Specifications:
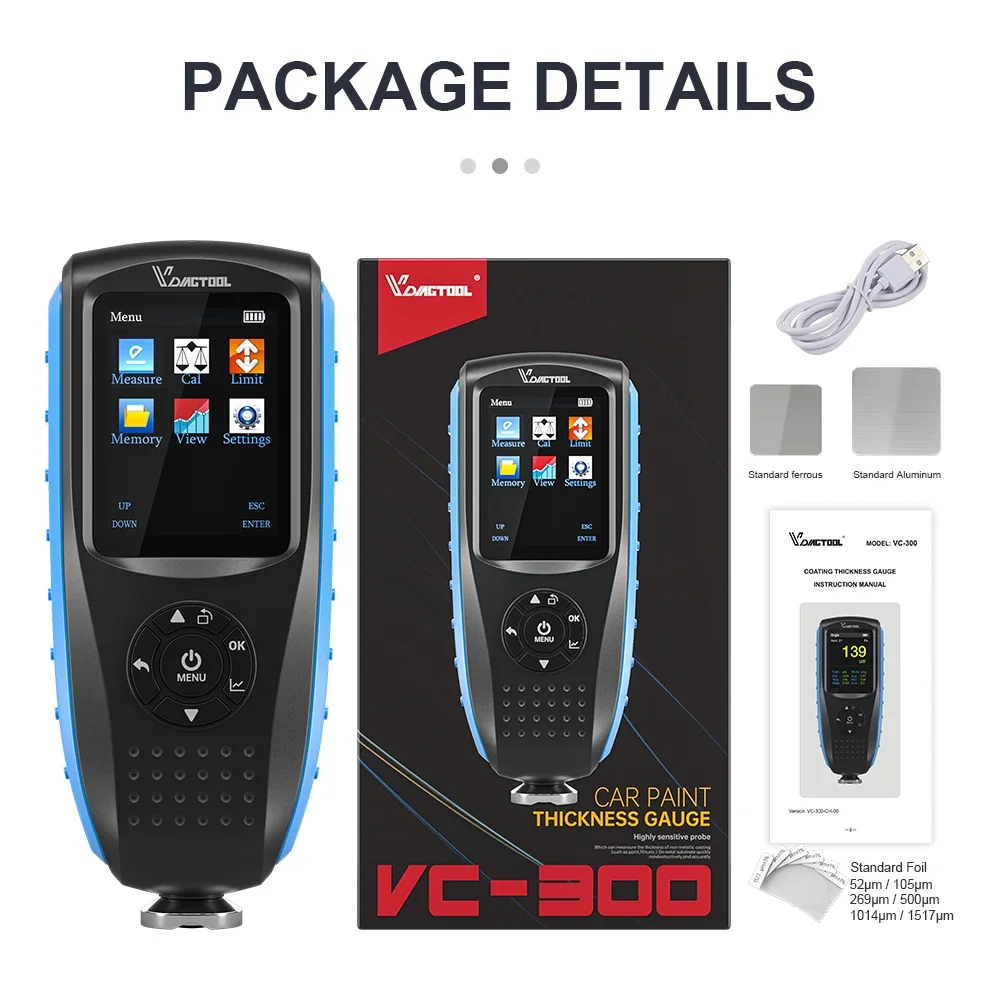
Packing List
1 * 300 coating thickness gauge
1 * English operation instruction
1 * Standard Aluminum
1 * Standard ferrous
1 * Standard foil
1 * USB cable
1 * Packing box
0 Stars of 5,0 Reviews.
- 5 stars:0%
- 4 stars:0%
- 3 stars:0%
- 2 stars:0%
- 1 stars:0%
Share your thoughts with other customers.
Write a reviewYou may also like

-
VDIAGTOOL VT360 OBD2 Car Diagnostic Tool Support All Systems ABS SAS EPB DPF Better NT650 PK CRP129E
$289.003% off
-
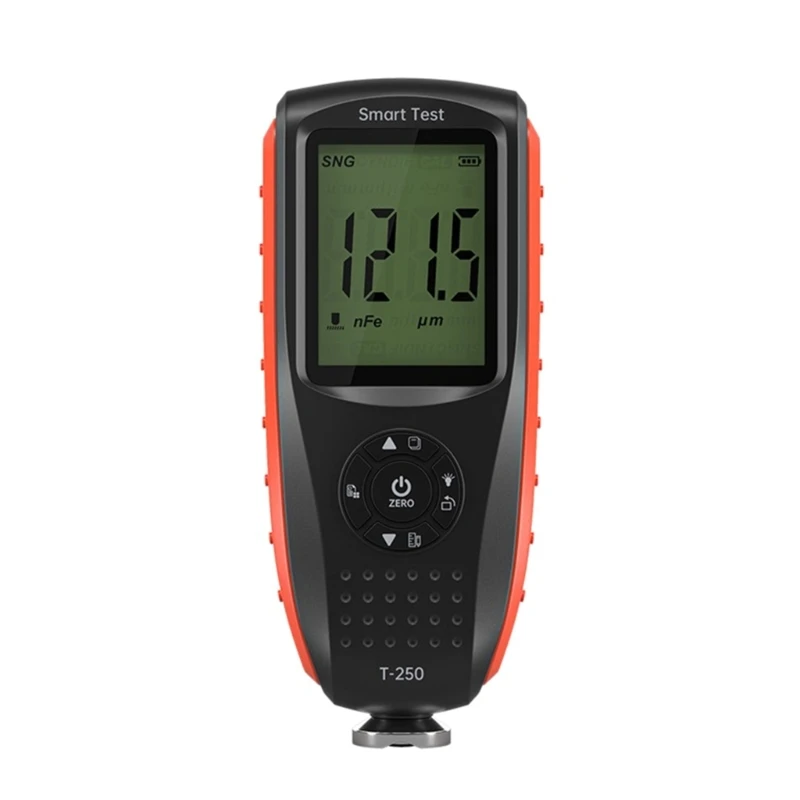
VDIAGTOOL VC200 Car Paint Thickness Tester FE/NFE Coating Thickness Gauge LCD Backlight Paint Tester Self-Calibration USB Charge
$49.0011% off
-
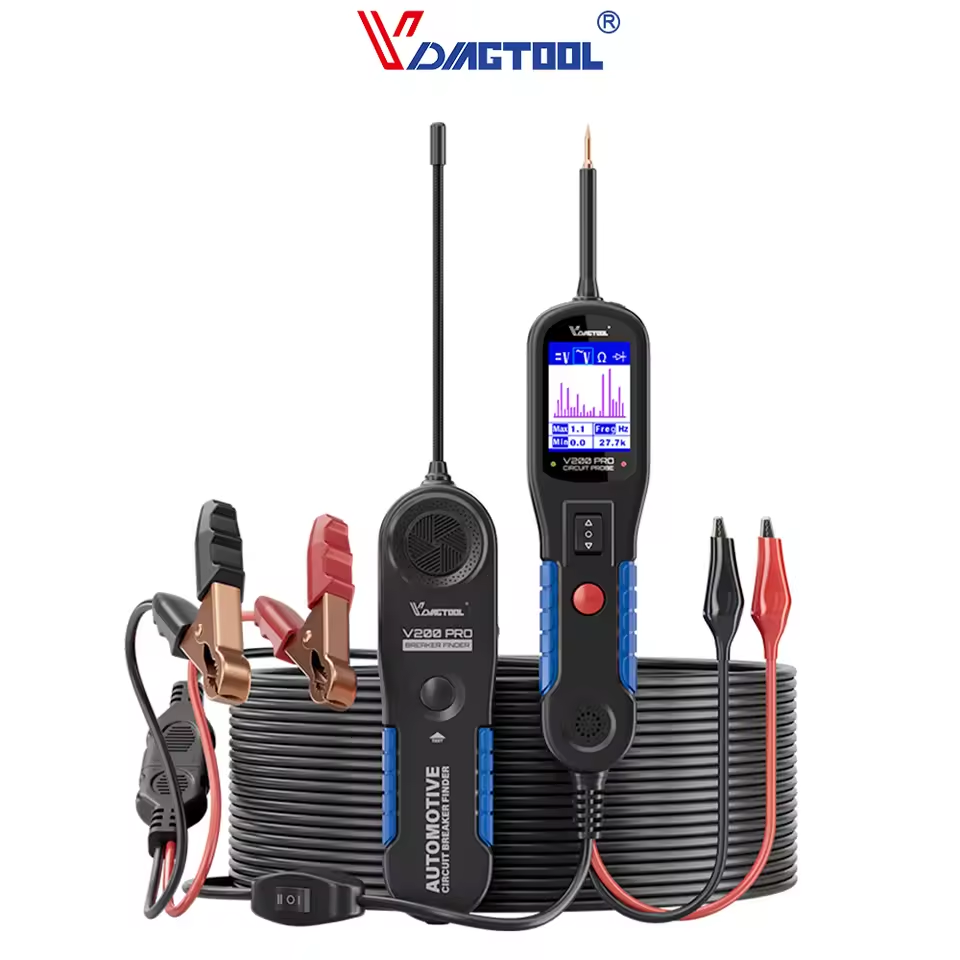
2024 VDIAGTOOL V200 Pro Automotive Power Circuit Probe Tester Breaker Finder Tools 12/24V Electrical Open Short Circuit Finder
$119.0014% off
-
NEW VDIAGTOOL VCX HD Heavy Duty Truck Diagnostic TOOL For CAT, VOLVO, HINO, Cummins Wifi Version Truck Scanner
$389.005% off
-
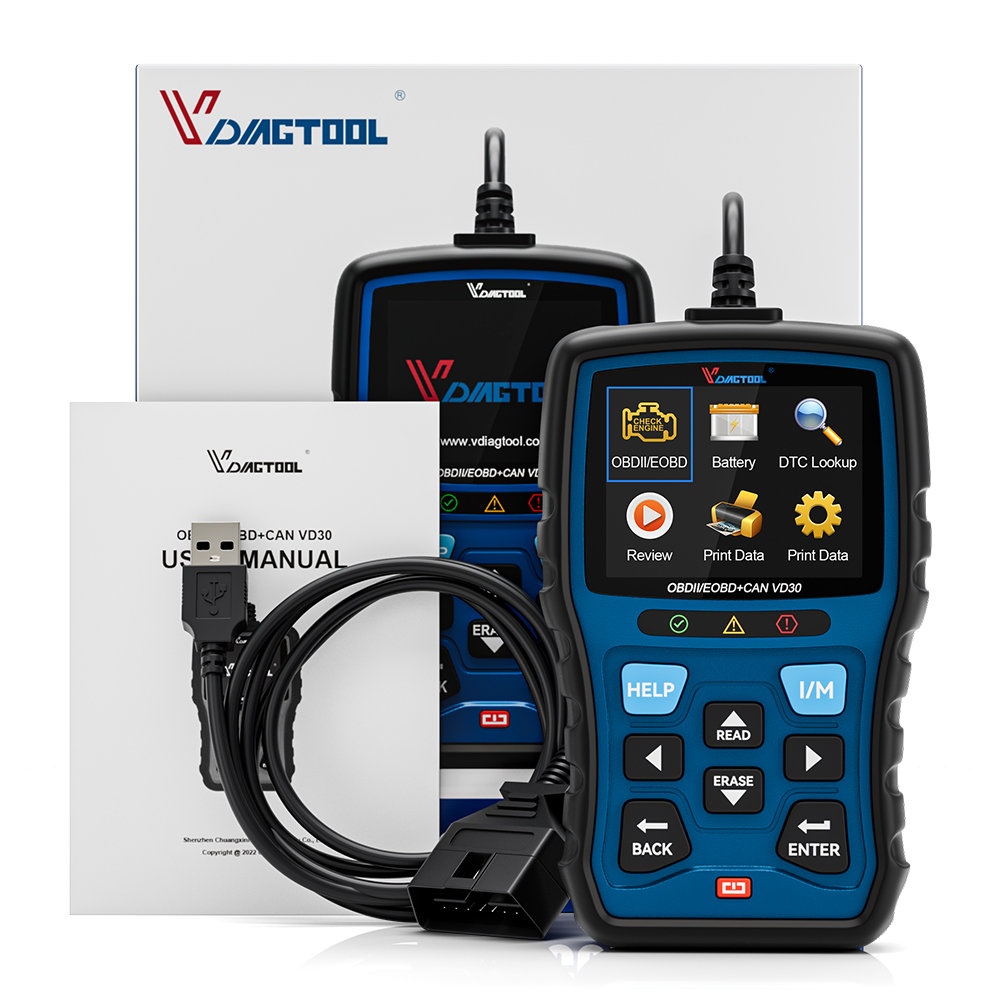
VDIAGTOOL VD30 OBD2 Scanner Code Reader Enhanced Automotive Diagnostic Scan Tool for Check Engine Light DTC Lookup Free Update
$48.0017% off

-
Accurate Vdiagtool OT100 Engine Oil Tester With LCD Display Oil Quality Detector Gas Analyzer For Auto Check Oil Testing Tools
$49.0017% off
-
Tel
+86-19892834301 -
WhatsApp


