- WhatsApp:+86-19892834301
- Email: automantool@hotmail.com
- Skype:autoobdtop
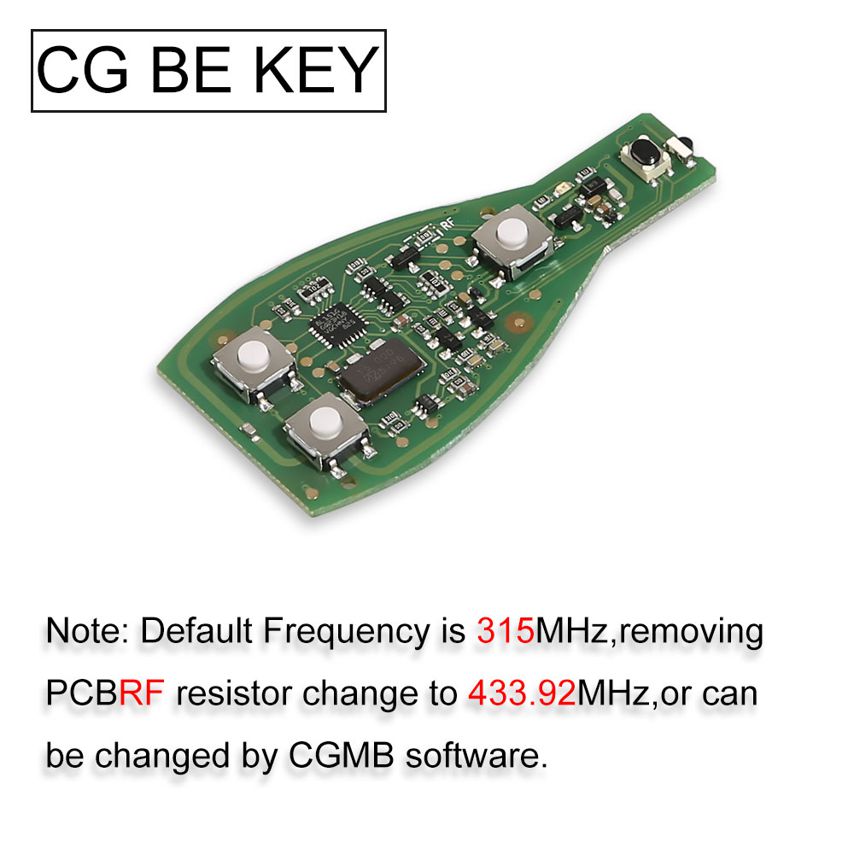
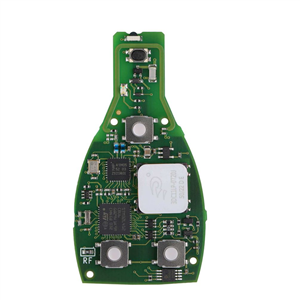
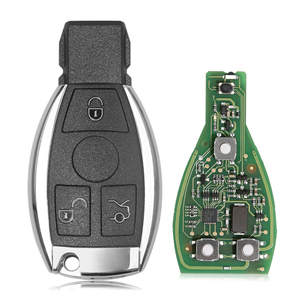
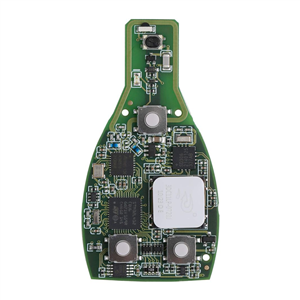
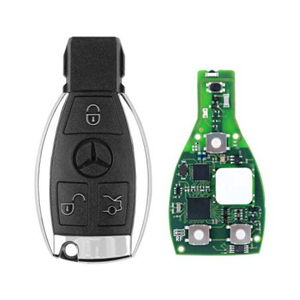
Original CGDI MB Be Key V1.3 Support All Mercedes Till FBS3 315MHZ/433MHZ Get 1 Free Token for CGDI MB
0 out of 50 global ratings
- 5 stars:0%
- 4 stars:0%
- 3 stars:0%
- 2 stars:0%
- 1 stars:0%
ratings| answered questions
0 global ratings
- 5 stars:0%
- 4 stars:0%
- 3 stars:0%
- 2 stars:0%
- 1 stars:0%
Fast Shipping & No Tax
US Check: Ship from US
UK Check: Ship from UK
EU Check: Ship from Czech
Looking for help? Please contact Whatsapp: +86-19892834301
- Shipping:
-
Free Shipping
Express Shipping ServiceEstimated delivery time: 3-5 Working Days
- Quantity:
- Stock:100
- Weight:
- 0.05 KG
- Package:
Related Download Files
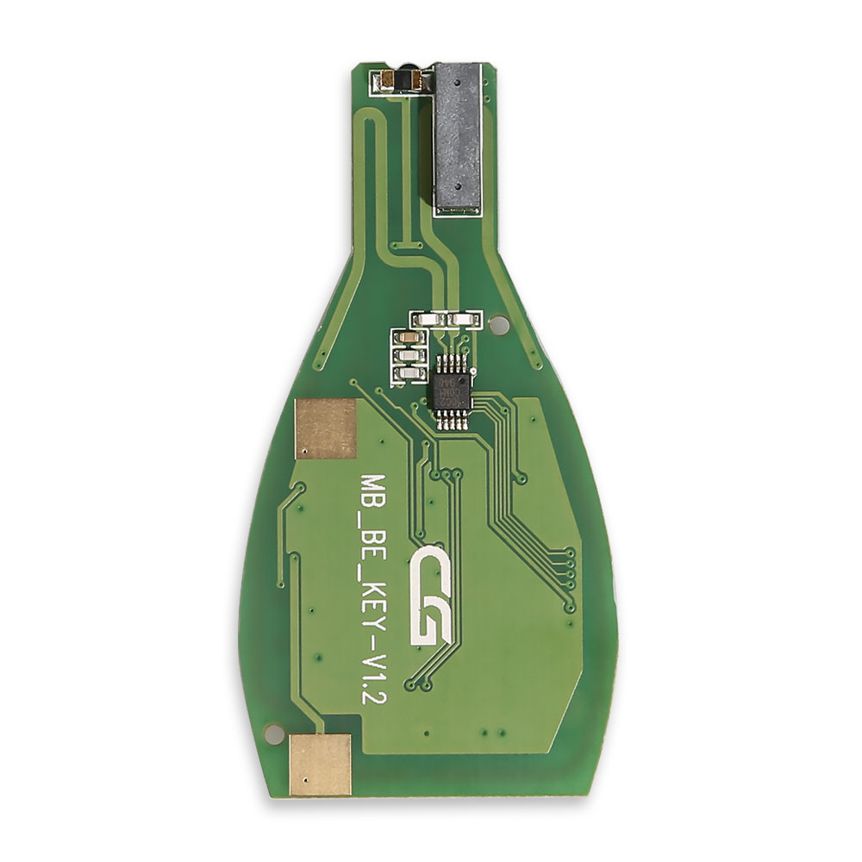
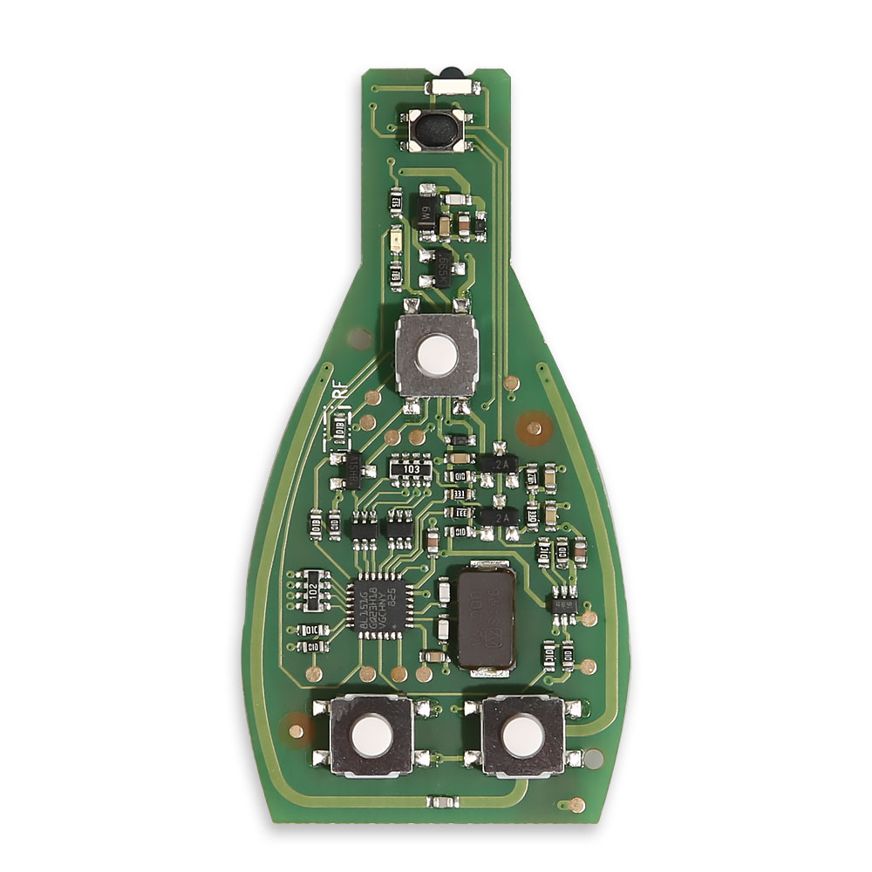
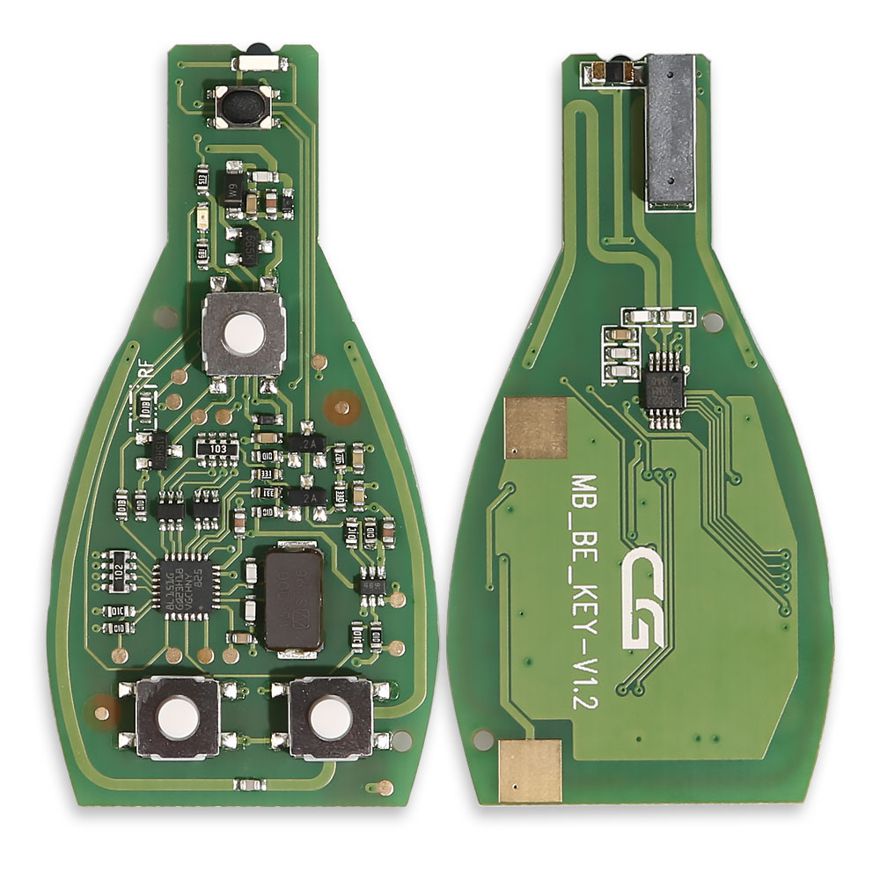
Original CGDI MB Be Key V1.3 Support All Mercedes Till FBS3 315MHZ/433MHZ
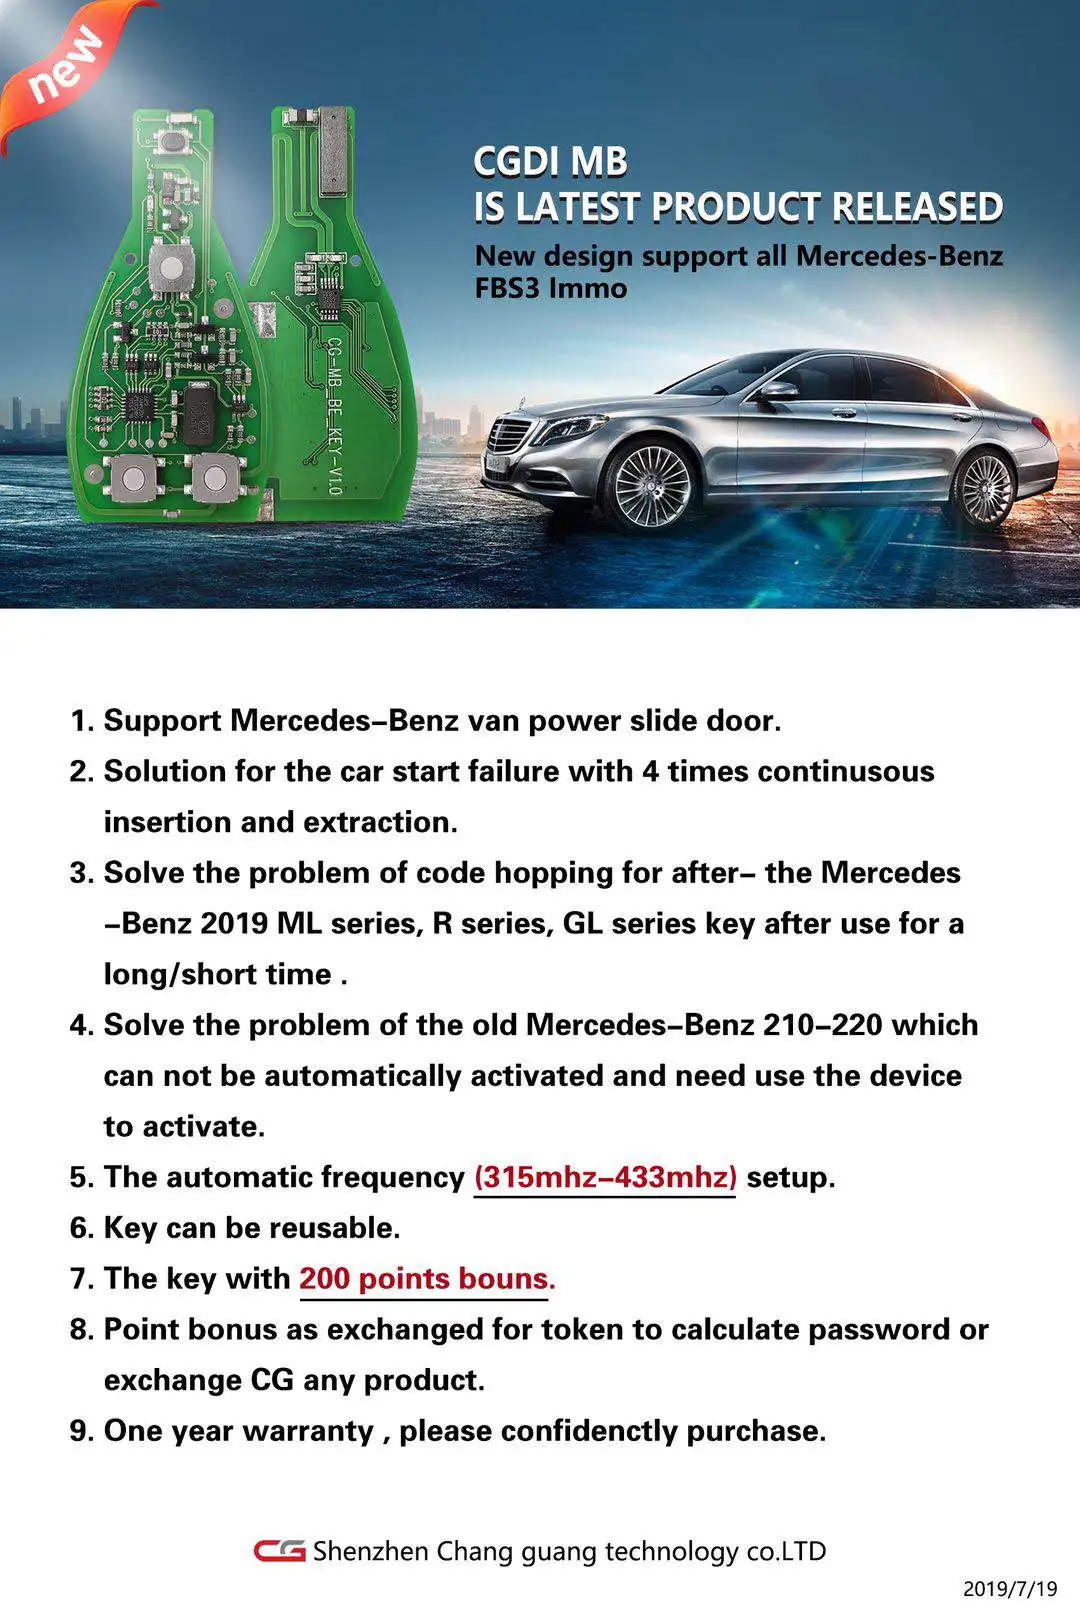
Highlights of CGDI MB Be Key:
1. Support all FBS3
2. Never lose synchronization
3. Support Automatic Recovery
4. Suitable for 208,203,215,210.220.211.209,164.221.216.166.169.639.204.207.212
5. Applicable models: W221 W216 W164 W251 After Year 2009 Including: S Series, ML Series, GL Series and R Series.
6. You can get 200 bonus points when use CGDI MB to program this key. 200 points= 1 token for CGDI MB (token valued $4 when you buy it alone).
For the points, if you don't need to change for token, you can also exchange for other device on CGDI online store later.
Check more detailes here CGMB Key Points Policy and Quick Guide
Notice:
There is no key shell in default package.
If you need 3 Button Key Shell, please click Smart Key Shell 3 Button for Mercedes Benz
If you need 4 Button Key Shell, please click Smart Key Shell 4 Button with the Plastic for Mercedes Benz
How to assemble the case with VVDI BE key Pro improved version board?
This post shows the general guide on how to assemble VVDI BE Key Pro imrpoved version with the Smart Key Shell 3 Button for Mercedes Benz.
1. Put the VVDI BE key Pro improved version PCB into the case.
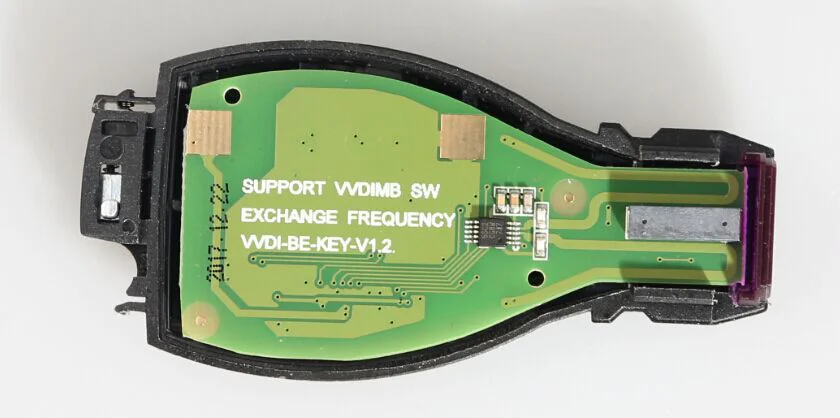
2. Cover the bottom case.
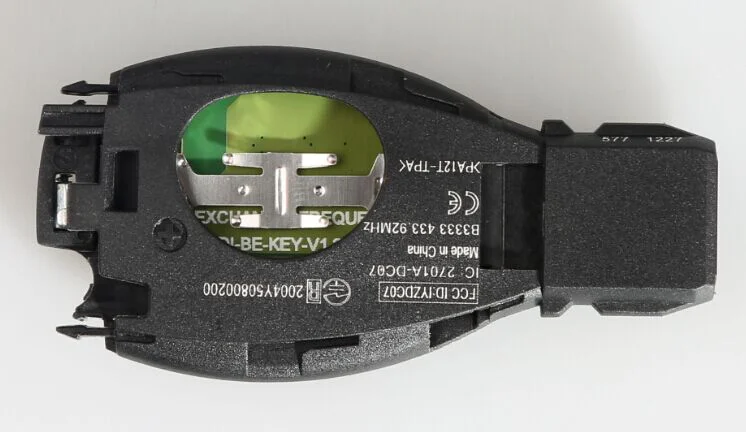
3. Insert the battery and cover the case.
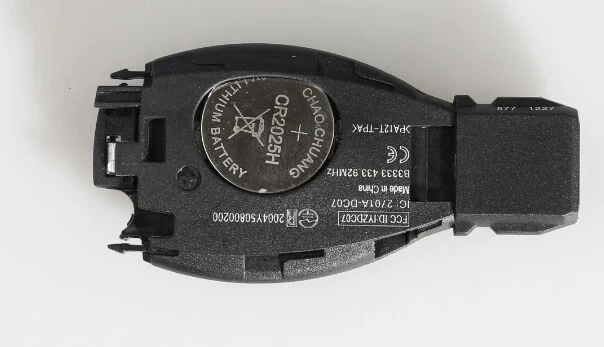
4. Push the metal strips on both sides into the right position.
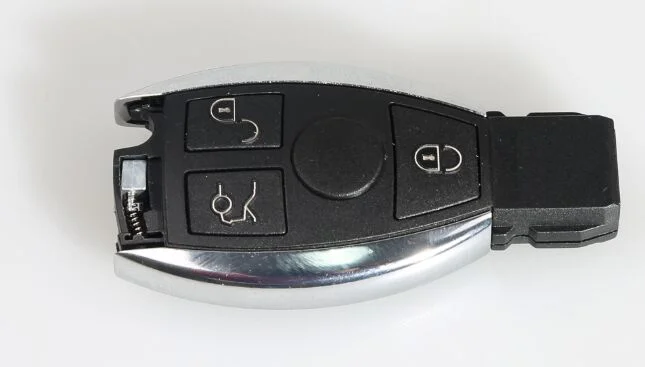
If the rear metal component is first assembled, then the metal strips on both sides won't be able to pushed into the right position.
5. Here rearmetal button.
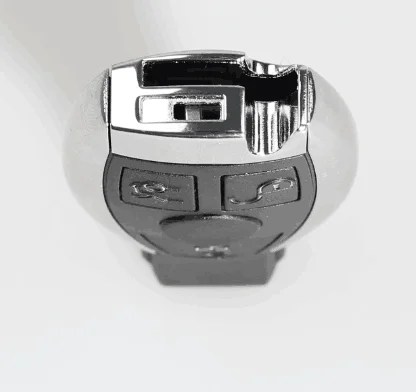
6.Put into the small key and start button.
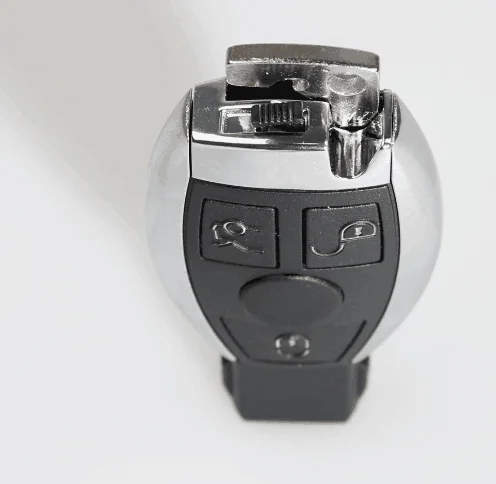
If you want to disassemble the case, please do it from the last step to the first step.
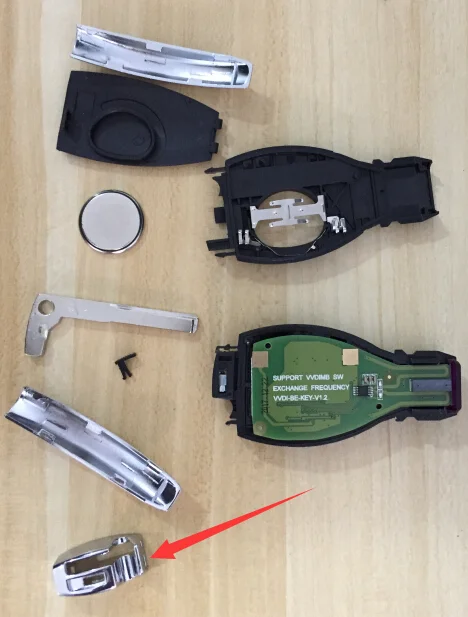
Note: If the rear metal component is firstly assembled, then the metal strips on both sides won't be able to put into the right position.
0 Stars of 5,0 Reviews.
- 5 stars:0%
- 4 stars:0%
- 3 stars:0%
- 2 stars:0%
- 1 stars:0%
Share your thoughts with other customers.
Write a review-
Tel
+86-19892834301 -
WhatsApp


